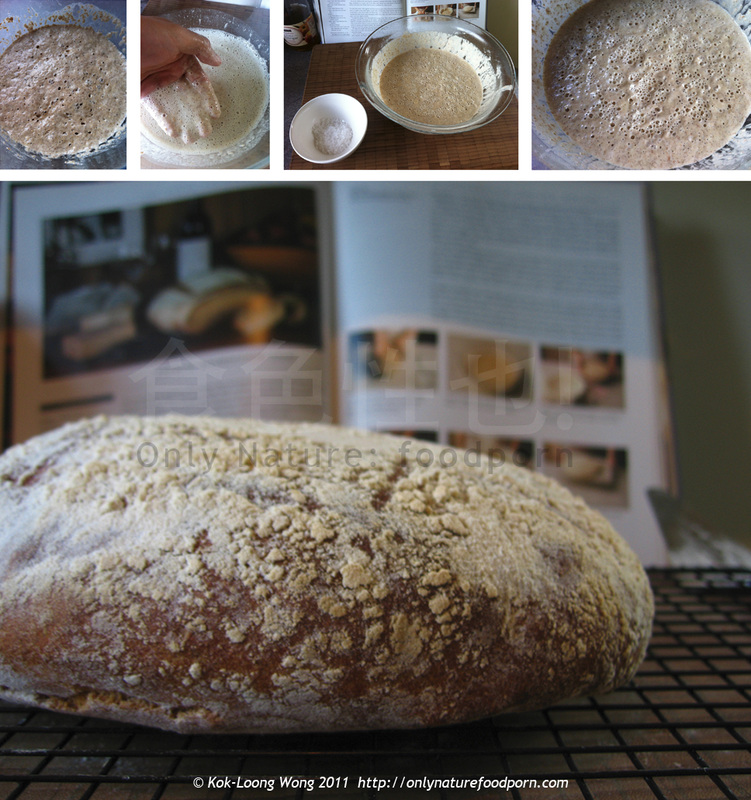
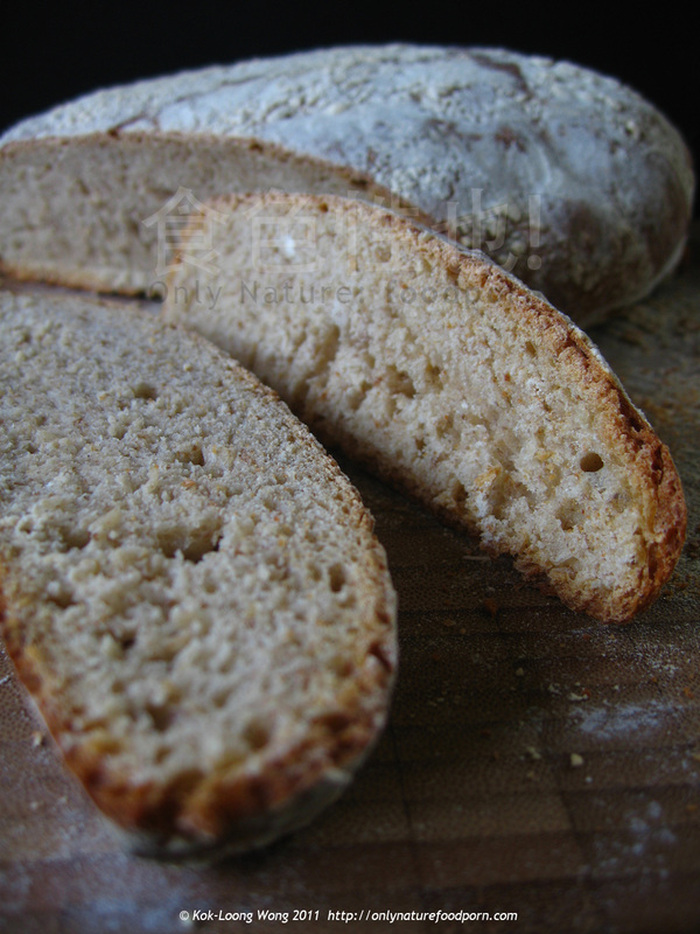
A loaf of bread using natural wild yeasts from Westcliff(on-sea) sounds rather authentic! The amount of days I spent to make this loaf is another special selling points for this bread - slow-raised home-made natural wild yeasts sourdough bread...:) JUST total 6 days from making of the starter to the final bake to make JUST ONE loaf, time well spent!
But basically, this is just a loaf of bread naturally fermented without package yeast. Yeasts naturally present in the air.
The process of making just one loaf of the bread is very slow, 3 days for the starter to ferment, half a day for the second stage and another half a day for the final stage and then the final bake...It is quite satisfying though to make food with just few simple basic ingredients - flour, water, salt and "the air"!
I always thought to make sourdough bread required a lot of bread making skills and it must be very difficult...But now that I have "successfully" (I think!) made a loaf of sourdough bread, I think it is not at all daunting if you break the process down to stages, and there isn't really skill required but a lot of patience and obsessively checking...
This recipe is based on a recipe from my baking bible - The Complete Bread & Baking Book by Linda Collister and Antony Blake. The original recipe is French sourdough loaf. But since it is made in Westcliff-on-sea, Essex, It is no longer a French sourdough, but Westcliff!
In the book, the author said, "This is my version of the delicious, thick-crusted, chewy loaf made popular by the Poilane family in Paris" I think, the loaf I made fitted the description rather well..thick -hard -crusted, chewy...So I must did the right thing!
The following is my simplified version of the process of making the sourdough...
Stage 1 - Starter
Ingredients:
- 230g whole wheat bread flour
- 1 cup lukewarm water
Mix together the ingredients in a large bowl to make a very thick batter. Cover with damp cloth and let it stand at room temperature, away from drafts, for three days. Note: I read, it shouldn't be covered with cling film. At day 3 the mixture should be smelly (yeasty), slightly bubbly. Your room will smell yeasty too (in a nice way!)
Stage 2 - Sponge
Ingredients:
- 2/3 cup lukewarm water
- 20g grounded sea salt (This is alarmingly a lot of salt if you compare to the volume of the Starter!)
- 230g strong white bread flour
Add the water and salt in the bowl with the Starter, stir to dissolve any lumps in the Starter. Then add flour and beat with your hand for about 1 minute to make a thick batter. Cover with damp cloths and set aside to let stand at room temperature for 24 to 36 hours. The mixture will be spongy and slightly bubbly after 24 hours. The longer you left it, the more pronounced the sour taste it will be.
The room will still smell yeasty - maybe a bit like the smell of some soaking wet news papers!
Stage 3 - Dough
(OOPS! I just realised while writing down the recipe that I shoudn't have put the salt at the stage 2, the salt should be added at stage 3 instead as stated in the original recipe from the book!!)
So officially, this is MY original version then! I think the bread is still very similar to the original recipe..so I guess may be it doesn't really matter!
Ingredients:
- 1/4 cup lukewarm water
- 230g strong white bread flour (extra if the dough is too soft and sticky)
Beat down the sponge and add in the water, and mix to combine the water with sponge. Then mix in the flour, a handful at a time, to make a soft, but not sticky dough.
Turn the dough out on a lightly floured surface and knead it for 10 minutes until firm, smooth and elastic. Add more flour as needed. (if the dough is too soft, it will not retain the shape while raising in the baking sheet. It will be a big flat disk!). Return the dough to the same bowl (no need to wash or oil). Cover it with damp cloth and let rise at room temperature until almost doubled in size for about 8-12 hours.
Punch down the dough, and keep about 1 cup of the dough for making the next starter. Shape the dough into a ball and put in on a greased baking sheet. Dust the top of the dough with generous amount of flour, to prevent the dough from sticking to the damp cloth. Cover it with damp cloth and let rise at room temperature until almost doubled in size for about 8 hours.
Stage 4 - Bake
Preheat the oven to around 220"c.
Using a sharp knife, slash the top of the dough 4 times (to make a square configuration). Bake in the oven for 20 minutes, and then lower the oven to 190'C and bake for further 35mins or until the loaf sounds hollow when tapped underneath. Transfer the loaf to a wire rack and set aside to let it cool completely.
To keep the starter, in the recipe book, it stated the followings:
Put the reserved 1 cup portion of dough into a greased plastic bag and store in the refrigerator for up to three days. Or place the dough in a small bowl, covered with damp dish towel, and let stand at room temperature, away from drafts, for up to two days. To use for making a loaf, start at the sponging stage and beat in a little lukewarm water to make a thick batter. Proceed with the recipe.
Very happy that I learnt something new this week! Bread making with machine sounds so boring now...:)


 RSS Feed
